| Menu |
| Home | News | Product | Features | Product tour | FAQ | Contact | About us |

Introduction
Qedata is an application builder. It allows the user to create a web-based application using only a browser.
We used qedata to create a small example application called Hector. Hector allows a user to manage a list of contacts. The aim of this document is to guide users through a series of question and answer tests in order to familiarise themselves with the qedata interface. The data was generated randomly and has no relation to existing people.
Getting started
This application has been configured to allow guest access so there is no need to enter a username and password.
Once logged in, click on the Contacts icon in the left sidebar.

You will be presented with a grid like the one below. Note you can click
on the screenshot for a larger version.
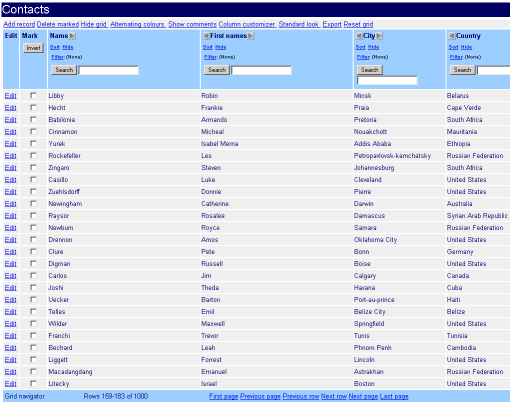
Now we will perform some exercises on this grid. Note that what you learn
here will apply to all grids in the system. Since the above screenshot
shows the entire screen along with all of the toolbars, you may want to
refer to it throughout the tutorial.
Sorting the grid
How can I sort the grid by last name?
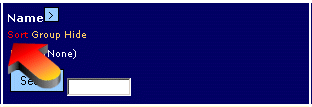
Click once on the Sort button heading. The red arrow in the picture below shows where to click. The text of the Sort button will change to Sorted up. A second click will sort in reversed alphabetical order and the text will change to Sorted down.
Can I sort any column?
Absolutely. Just click on the appropriate Sort button in the column heading. Some columns cannot easily be sorted (such as check box columns or columns with pictures in them). In these cases, blank fields will appear at the top of the list.
Finding a record
How can I find the record pertaining to a specific contact?
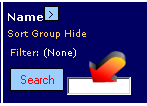
Let us say that we wish to find Ms. Adeline White. The columns all have a search function built in. To find Ms. White, sort the grid by Name by clicking on the Sort button heading. Then type (with the keyboard) 'white' into the box and press the Search button. The grid will jump to Ms. White's record. (Note that a column does not have to be sorted to use the search feature - the grid will find the next match.)
How else can I navigate the grid?
You can use the navigation toolbar:
![]()
Any sort orders that are in effect on the grid will be respected.
Filtering data
I only want to see the records for people in Belgium. How can I do this?
First click on the Filter button in the Country column:
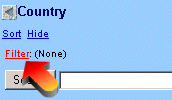
Click on the Filter button the Country column heading. You will then be
presented with a screen similar to the following one.
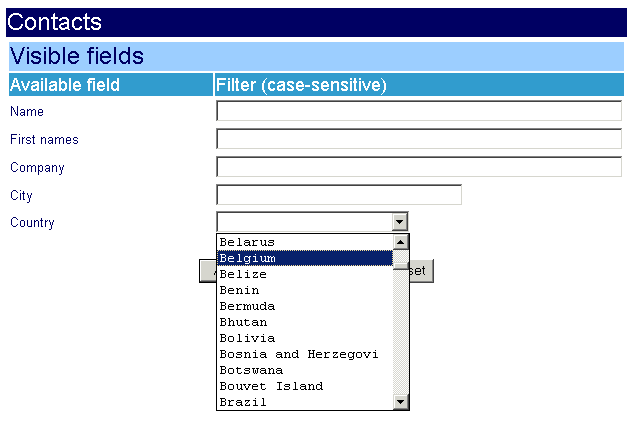
Select Belgium from the list of countries and press the Apply
filter button. You will be returned to the grid with the filter
applied.
When a filter is applied, there is a description of the current filter
along the top of the grid (shown below).
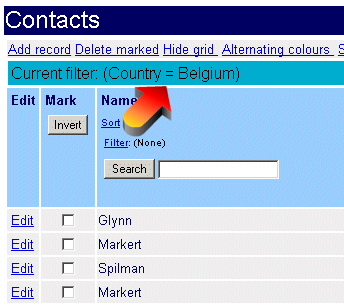
Also, the Country column heading shows
the filter that is applied to that column (shown below).
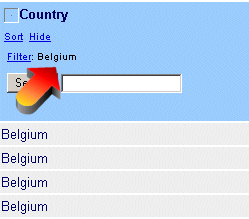
Multiple columns can be filtered at the same time.
How do I remove a filter?
You can remove all filters by pressing on the Clear filter button in the filter screen (shown below). The filter screen is accessible by pressing the Filter button in any of the column headings.
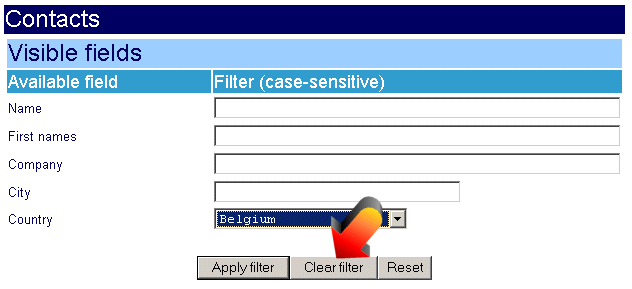
Can I filter any column?
Yes. Only visible columns will appear in the filter screen, but you can make any column visible (and then apply a filter on it). See the section on column customisation for information regarding columns' visibility.
Editing
How do I make changes to the data?
The navigation toolbars and the grid let you add, delete and edit records.
How do I add a record?
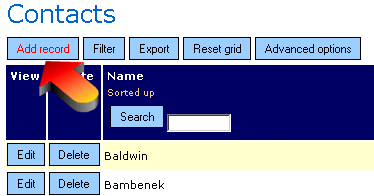
Click on the Add record button. You will be taken to a screen similar to the one below.
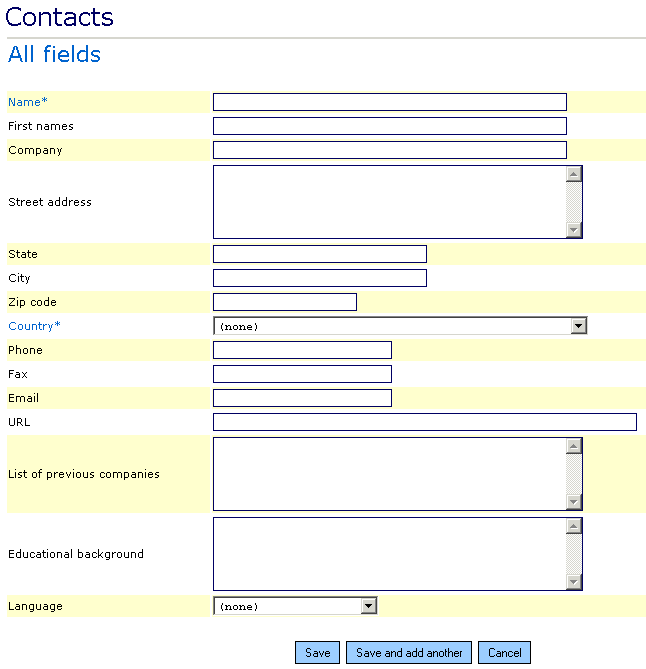
The fields can now be filled in. The greyed out fields (such as Creation timestamp) are not editable and are system generated - they include information about the user who last modified the record, the unique identifier for the record, etc. These fields are for information only and not changeable. They can be hidden if preferred.
The fields that appear in bright blue with an asterisk are required fields: the program will prevent you from saving a record until these have been filled in.
At the bottom of the screen (you may have to scroll down to see all of
the fields), you will find three buttons:
The Save button will save the changes after ensuring that all the required information has been filled in properly. Reset will abandon the changes. (Save and new will save the changes and immediately create a new record. This is useful if you are adding many records at the same time.)
How do I delete a record?
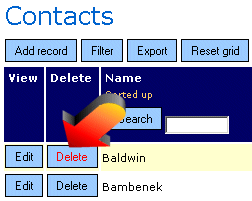
In the grid, press the Delete button next to the record you wish to delete. You will be prompted for confirmation before deletion is allowed.
How do I edit a record?
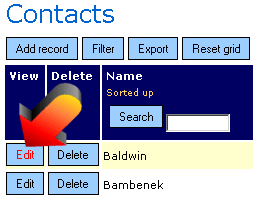
In the grid, click on the Edit button of the record you wish to edit. The record will be presented for editing in a screen similar to the example below.
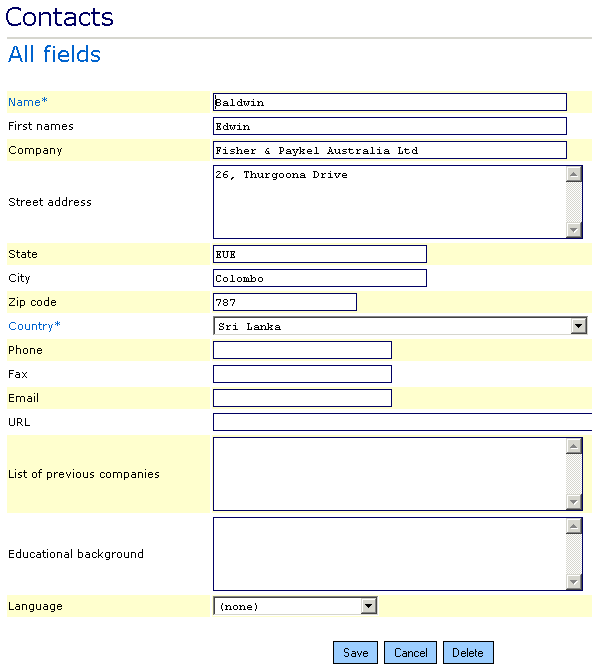
Modifications can then be done on the selected record. You can save (or reject) the changes by using the buttons at the bottom of the screen.
Can I prevent my users deleting records?
Note, all user actions in qedata applications can be controlled. It is not within the scope of this overview to cover the security possibilities of a qedata program, but suffice it to say that user rights for access, modification and deletion of data can be configured on a per-user, per-table and even per-field basis.
Grid appearance
Can I change the column order?
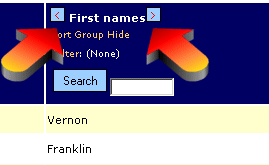
Yes. Just click on the arrows next to the column name. These are shown by the red arrows in the below example.
I want to see the phone number in the grid but it only
appears in the edit screen. How can I change this?
You have complete control over which fields appear in the grid. In order to add or remove columns, click on the Column customizer button:

This button will make the column picker pop up (shown below).
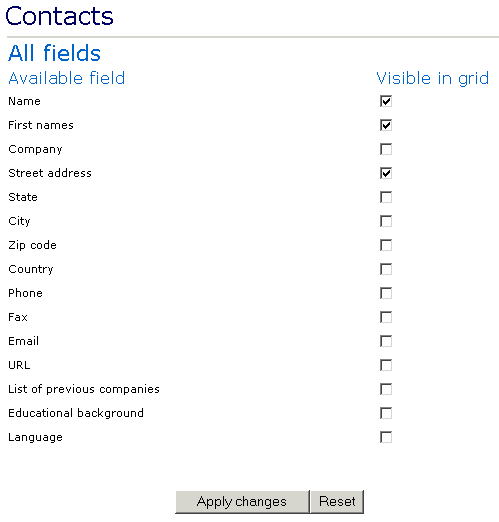
Check the Phone field and press the Apply
changes button. You will be returned to the grid with the new Phone
column visible. You can then move it to the desired position with the
column positioning buttons (see above).
How else can I modify the grid appearance?
Many of the toolbar options pertain to grid appearance: fonts and colours can be specified; the grid-lines can be removed; the comment can appear on a separate line; etc.

Will the layout of the grid be remembered when I return to qedata?
Each user's settings are remembered.
How can I reset the changes I have made to the grid?
If you would prefer to return to the default grid layout, just click on the Reset grid button.

Other questions
Is there a report writer?
As we have seen, many reporting requirements are possible using only the grid. The customisation possibilities of both the grid itself and the printing wizard are such that reports can frequently be generated directly from the main program. However, there are situations where additional reporting capabilities are necessary, e.g., if reports are based on several different tables, or if charts and sub-reports are required.
To cater for these more advanced requirements, qedata applications come with a powerful report writer. This allows the user to generate simple reports through a series of wizards, but also has the flexibility to allow the advanced user to build very complex reports. qedata comes with a user guide and tutorial for the report writer. It is not covered in this document.
Conclusion
Qedata is a
very powerful framework for working with any data. As demonstrated by
Hector, our sample program, it gives the user power and flexibility in
an easy to use, intuitive interface. This tutorial has presented a guide
to the essential features, but the program comes packed with many more.